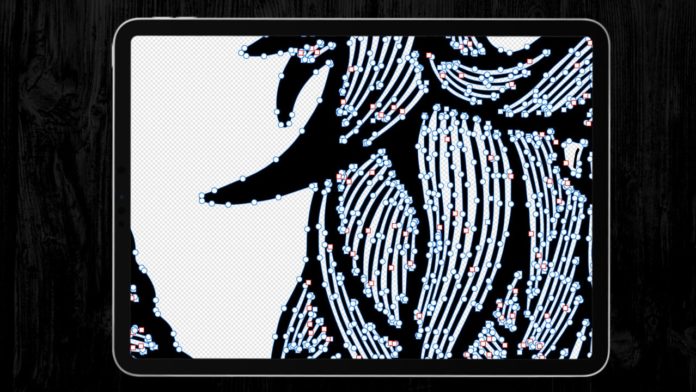
In recent years, the app Procreate has become a favorite for many t-shirt designers, but it can only create artwork in a pixel format.
The most popular vector apps on the iPad are Affinity Designer and Adobe Illustrator. But unfortunately, neither can automatically trace images and convert them to vector format directly on the iPad. So the most common workaround was to export your Procreate graphic and edit it further on the computer. Or to open it in a vector program and redraw it.
But it is possible to automatically trace the graphic and turn your Procreate image into a vector right on your iPad. Let’s find out how!
Why should you convert your Procreate files into a vector?
The drawing experience with the Apple Pencil on iPad is very intuitive and great. And it’s very accessible to many budding t-shirt designers. The iPad costs less than a graphics tablet, and instead of paying for expensive Adobe subscriptions, Procreate is only about $10 as a one-time payment.
But there’s a downside. Depending on the power of your iPad and the size of your canvas, Procreate has a limited number of layers. T-shirt design files are usually huge. For example, we design in 4500 x 5400 pixels. That’s a size of almost 39 x 45 cm at 300 dpi.
On the iPad mini, we end up with 7 layers at that size. On the more powerful iPad Pro, it’s 16 layers.
So if that number of layers isn’t enough, it’s a fantastic solution to turn your art into a vector. And you can do that right on the iPad.
Vector graphics can be scaled indefinitely without sacrificing quality. If you did that with pixel files, they would become blurry and pixelated. If you convert your Procreate files to vector files, you can design with a smaller file size. This gives you more layers to work with. And after you vectorize your design, you can scale it to the size you want.
Creating a Vector from Procreate Graphics (Simple Designs)
The easiest way is to create a vector from a design made with just one color.
Maggi posted a YouTube tutorial on how to turn your Procreate graphic into a vector. And you don’t have to redraw your graphic in a vector program. It will be traced and vectorized automatically.
She explains two different methods. For the first option, she shows how you can use free tools on the internet.
The second option is Adobe Caption. If you already have an Adobe subscription, you can install it on your iPad at no additional cost. With this app, you have the option to trace your design automatically.
Convert Procreate graphics with multiple colors into a vector
However, this method is not only limited to single-colored designs. You can also use it to create vectors from more complicated designs. But since the process takes a bit longer, Maggi shows you how in one of her Skillshare courses.
If you’re new to Skillshare, you can sign up for a free trial using this link. You’ll get a free trial (currently two weeks) and can watch the course for free. (Affiliate link – We get a small commission at no extra cost to you, and it helps us to keep this channel going!)


